How to Photograph a Room for AI Design
6 min read
Knowing how to photograph a room for AI design is the easiest way to get better results. The AI can only work with what your photo shows, so angle, light and clutter all shape the final image. These room photo tips cover camera position, lighting, prep and common mistakes, plus advice for exterior and garden shots.
Why the Photo Matters So Much
AI redesign tools read your photo to understand the room's walls, windows, floor and depth, then generate a new design on top of that structure. A clear, well-lit photo gives the model reliable information. A dark, tilted or cluttered one forces it to guess, which can lead to warped walls, odd furniture scale or details that do not match your actual space.
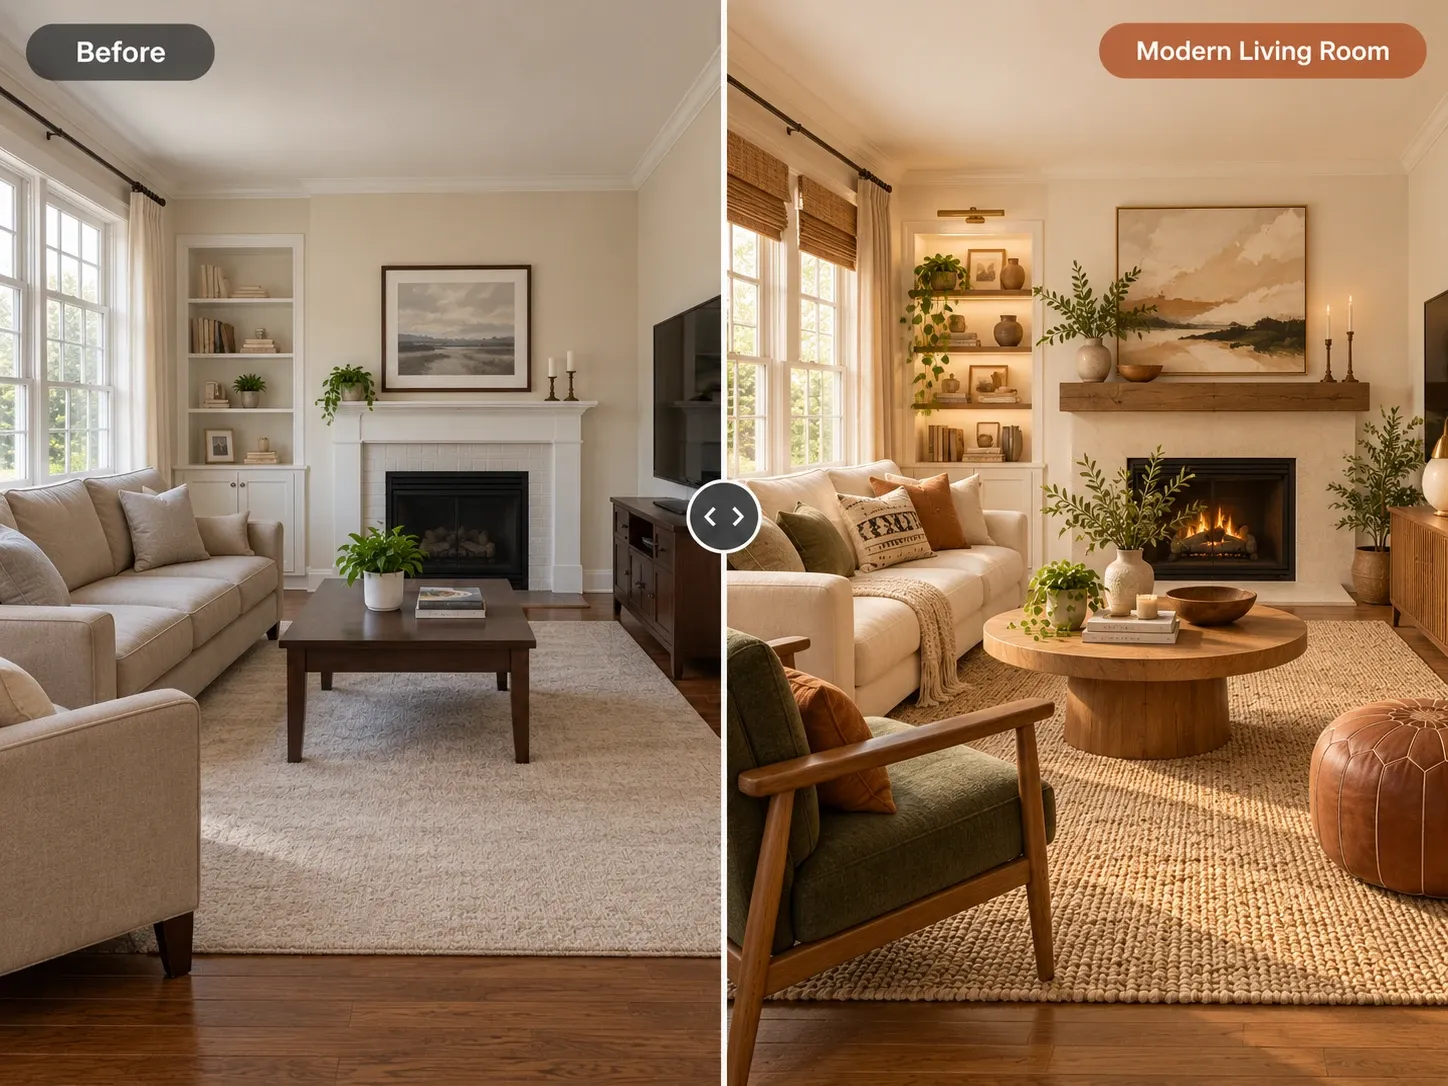
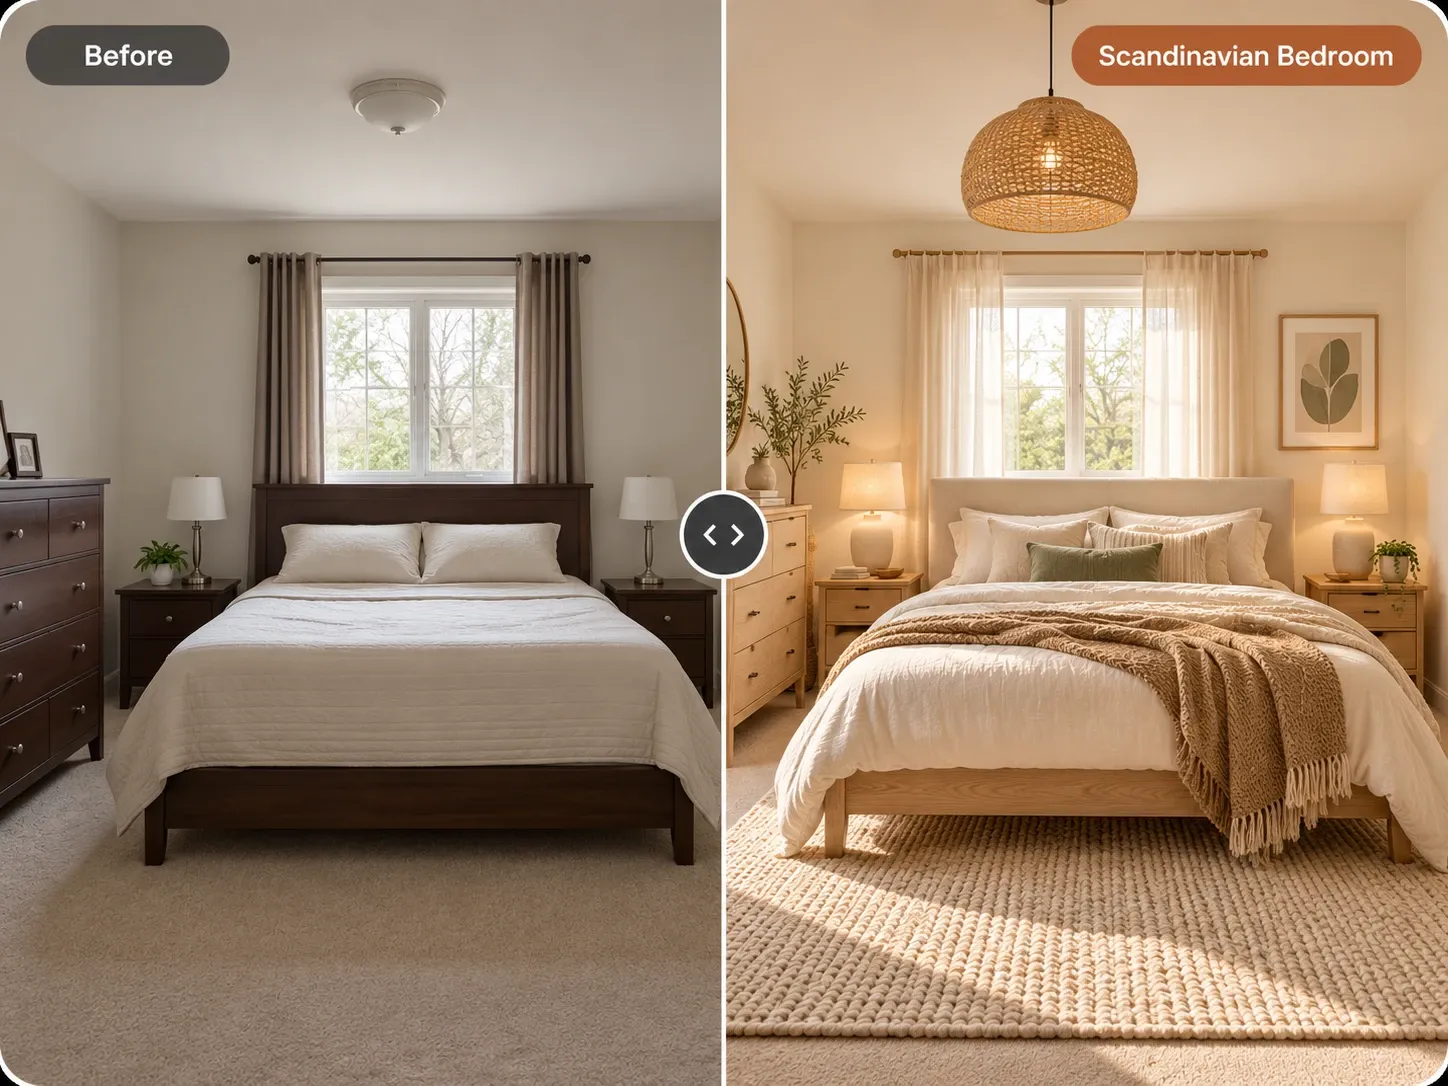
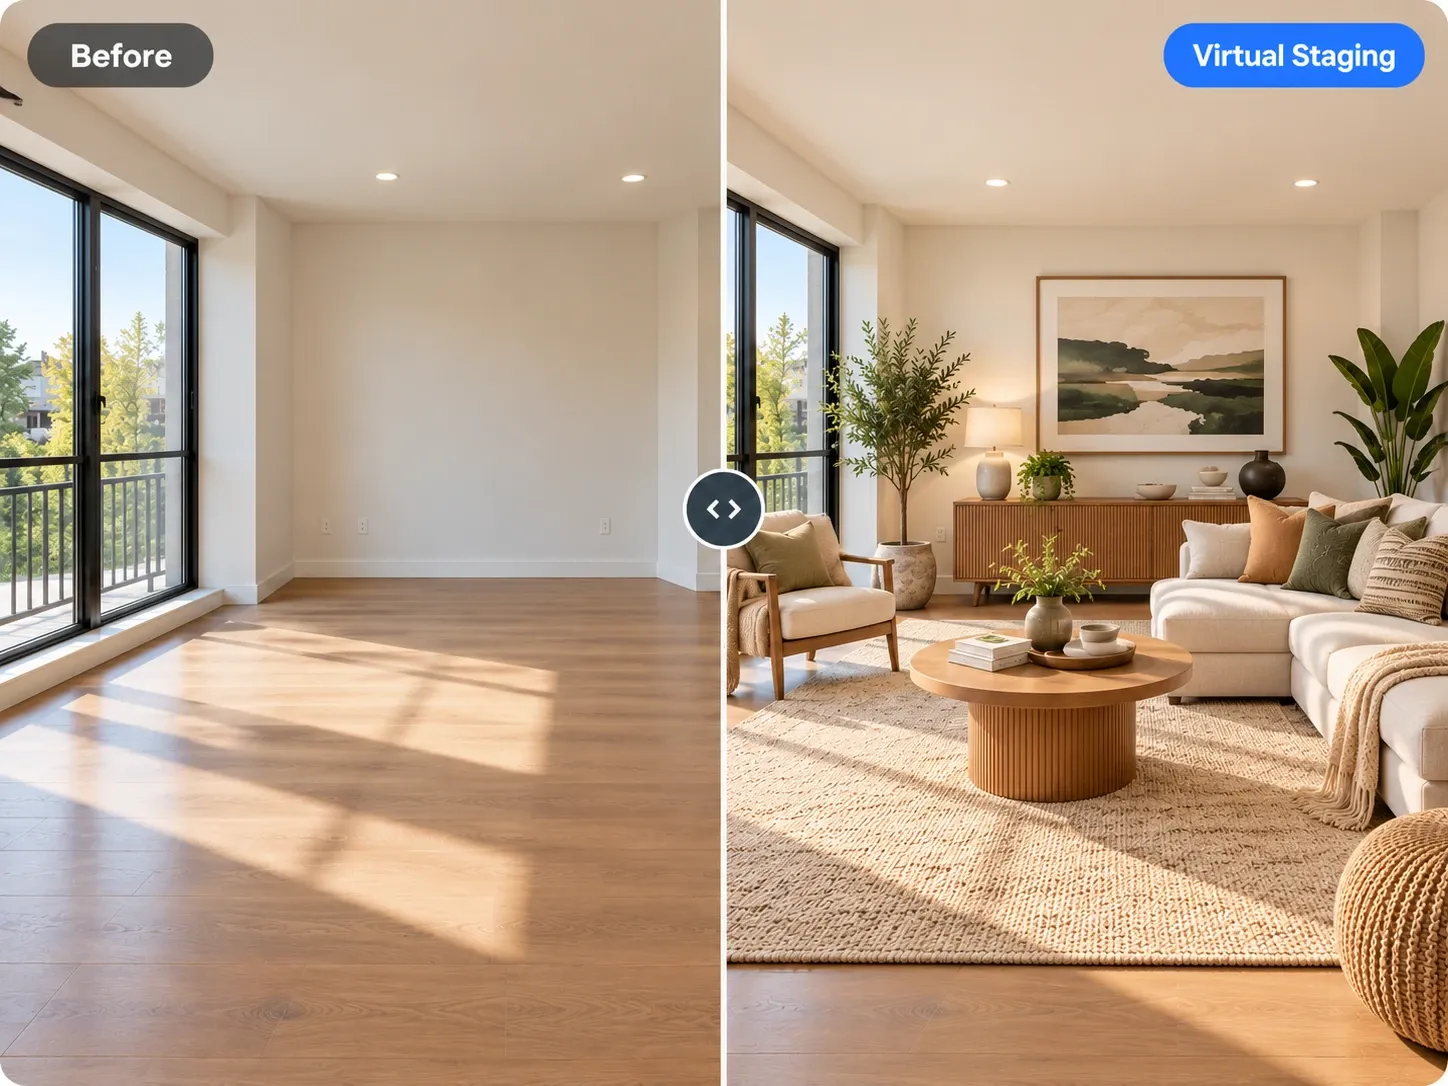
When you use AI room design in Homes Design AI, the walls, windows and perspective from your photo are preserved. That is exactly why the input matters: whatever the camera captures becomes the frame for every design you generate. A few minutes of prep before you shoot usually saves several retries and gives you designs you can actually trust.
The Best Photo for AI Interior Design: Angle and Height
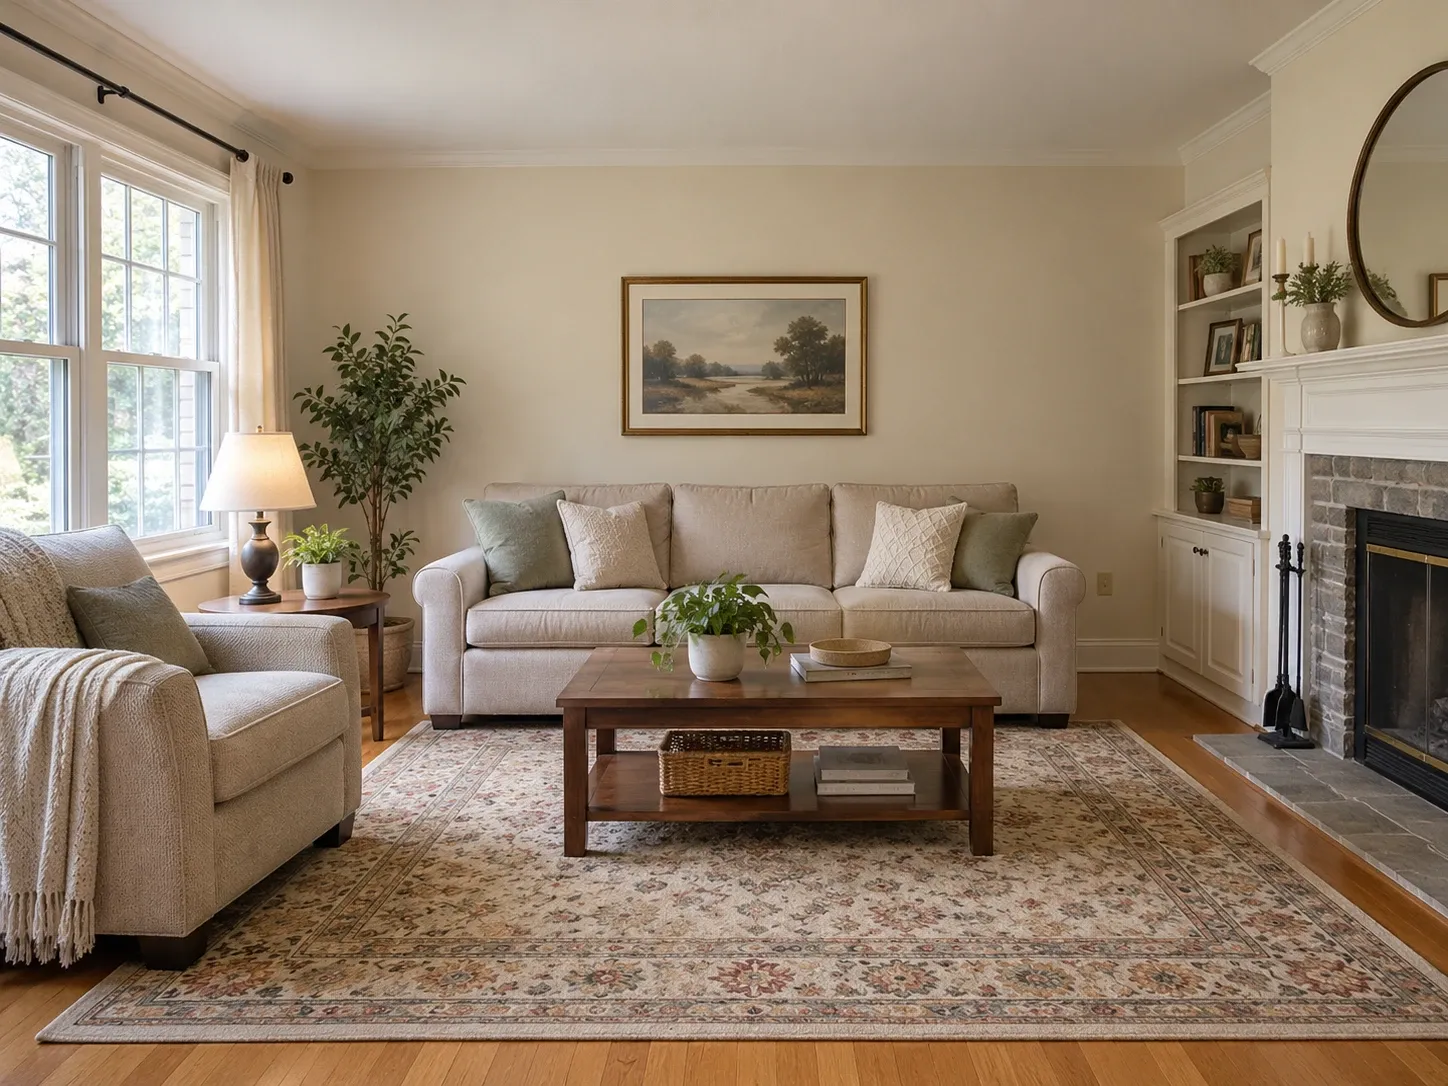
Stand in a corner or doorway and shoot toward the opposite corner. This angle shows two walls plus the floor and gives the AI a strong sense of depth. Straight-on shots of a single wall work for focused edits like a new paint color, but they give less context for a full redesign with new furniture and decor.
Hold the phone at about chest height, roughly 4 to 5 feet off the floor, and keep it level. Tilting up or down makes vertical lines lean, and the AI may reproduce those distortions in the result. Most phones offer a grid or level in the camera settings. Turn it on and line up door frames and wall corners with the vertical guides before you tap the shutter.
Use the main lens, not ultra-wide
Ultra-wide lenses capture more of the room but stretch the edges and bend straight lines. The standard 1x lens usually gives the most natural proportions. If the room is small and you need more coverage, step back into a doorway rather than switching to 0.5x. Shoot in landscape orientation for most rooms, since it matches how furniture spreads across a space.
Lighting: Room Photo Tips for Clean Results
Natural daylight is your best friend. Shoot during the day with curtains open, and turn on the overhead lights too if the room is dim, so dark corners are filled in. Avoid shooting directly into a bright window, which turns the glass into a white blob and darkens everything else. Position yourself so the main window is beside you or behind you.
Skip the flash. It creates harsh shadows and shiny reflections on floors, counters and cabinets. Turn off beauty modes or strong filters that shift colors, and upload the photo as it came out of the camera. The AI works best when colors are true to life, especially if you plan to keep some of your existing finishes in the new design.
- Shoot mid-morning or early afternoon for even light
- Open the blinds, then turn on ceiling lights in dim rooms
- Keep bright windows to your side, not in front of you
- No flash, no filters, no portrait mode
Prepare the Room Before You Shoot
Clear the surfaces. Remove laundry, cables, bags, pet bowls and stacks of mail. Small clutter can confuse the model and sometimes reappears as strange objects in the design. You do not need to empty the room, but the less visual noise in the frame, the cleaner and more believable the result will be.
Decide what you want to keep. If you plan to keep the sofa or the kitchen cabinets, make sure they are fully visible and not cut off at the edge of the frame. If you plan to replace everything, an emptier room gives the AI more freedom. Open interior doors you want shown, close the ones you do not, and straighten rugs and curtains so lines look intentional.
How to Photograph a Room for Different Projects
Different spaces call for slightly different shots. The basics stay the same: good light, a level camera and a view wide enough to show the structure. What changes is where you stand and what you include in the frame, depending on whether you are redesigning a compact interior, the front of your house or the yard behind it.
Small rooms and tight spaces
In a small bedroom or bathroom, shoot from the doorway with the standard lens and accept that you will not capture every wall. Choose the view that shows the main feature, such as the bed wall or the vanity. For examples of compact spaces that still feel open and balanced, browse these small living room ideas before you shoot.
House exteriors
Stand across the street or at the end of the driveway, include the whole facade and roofline, and shoot on an overcast day or with the sun behind you. Move parked cars and bins out of the way if you can. Then test paint colors, doors and lighting with AI home exterior design using that straight, uncluttered shot.
Gardens and yards
Shoot from a deck, an upstairs window or another high vantage point so the AI can see the layout of lawn, beds and paths. Mow first and clear away toys, hoses and furniture covers. A clear overview photo like this works best with AI garden design, because the model can read the shape of the whole space.
Common Mistakes to Avoid
Most disappointing AI results trace back to a handful of photo problems. Before uploading, zoom in and check that the image is sharp, the vertical lines are straight and nothing important is cut off at the edges. If any of these checks fails, retake the photo. It takes far less time than trying to fix a weak result afterward.
- A tilted camera that makes walls lean
- Ultra-wide lens distortion at the edges
- Shooting straight into a bright window
- Blurry photos from low light or movement
- Heavy filters that shift colors
- Cropping off furniture you want to keep
From Photo to Finished Design
Once you have a good photo, upload it to Homes Design AI, choose the room type and a style, or pick Surprise me for fresh ideas. Results arrive in under a minute. You can add plain-language instructions in any language, and the built-in design assistant turns them into a precise prompt. Learn how to phrase those requests in this guide to AI interior design prompts.
Use the same photo for several variations so your comparisons are fair. If you only want to change one area, like the wall color or the flooring, you can target that part and leave the rest alone. When you are ready, start with AI room design; your first design is free as a watermarked preview. Remember that the result is a visual concept, not a floor plan or a measured drawing.
Written by the Homes Design AI team. Next step: try AI Room Design on a photo of your own space.