How to Use AI to Decorate a Room, Step by Step
6 min read
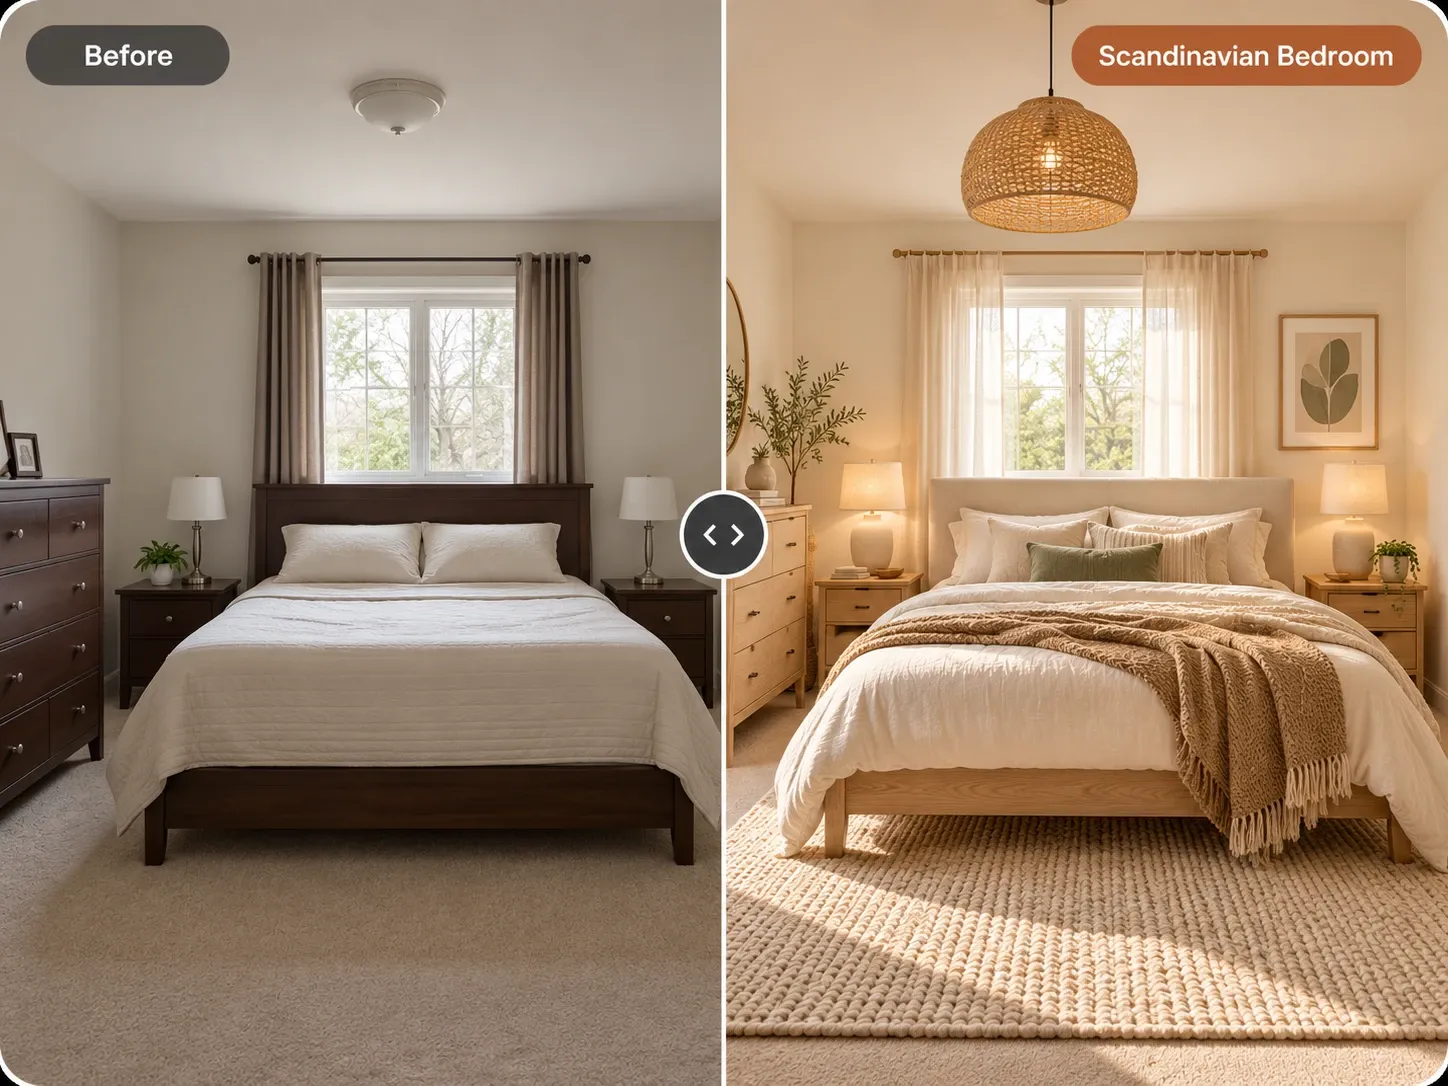
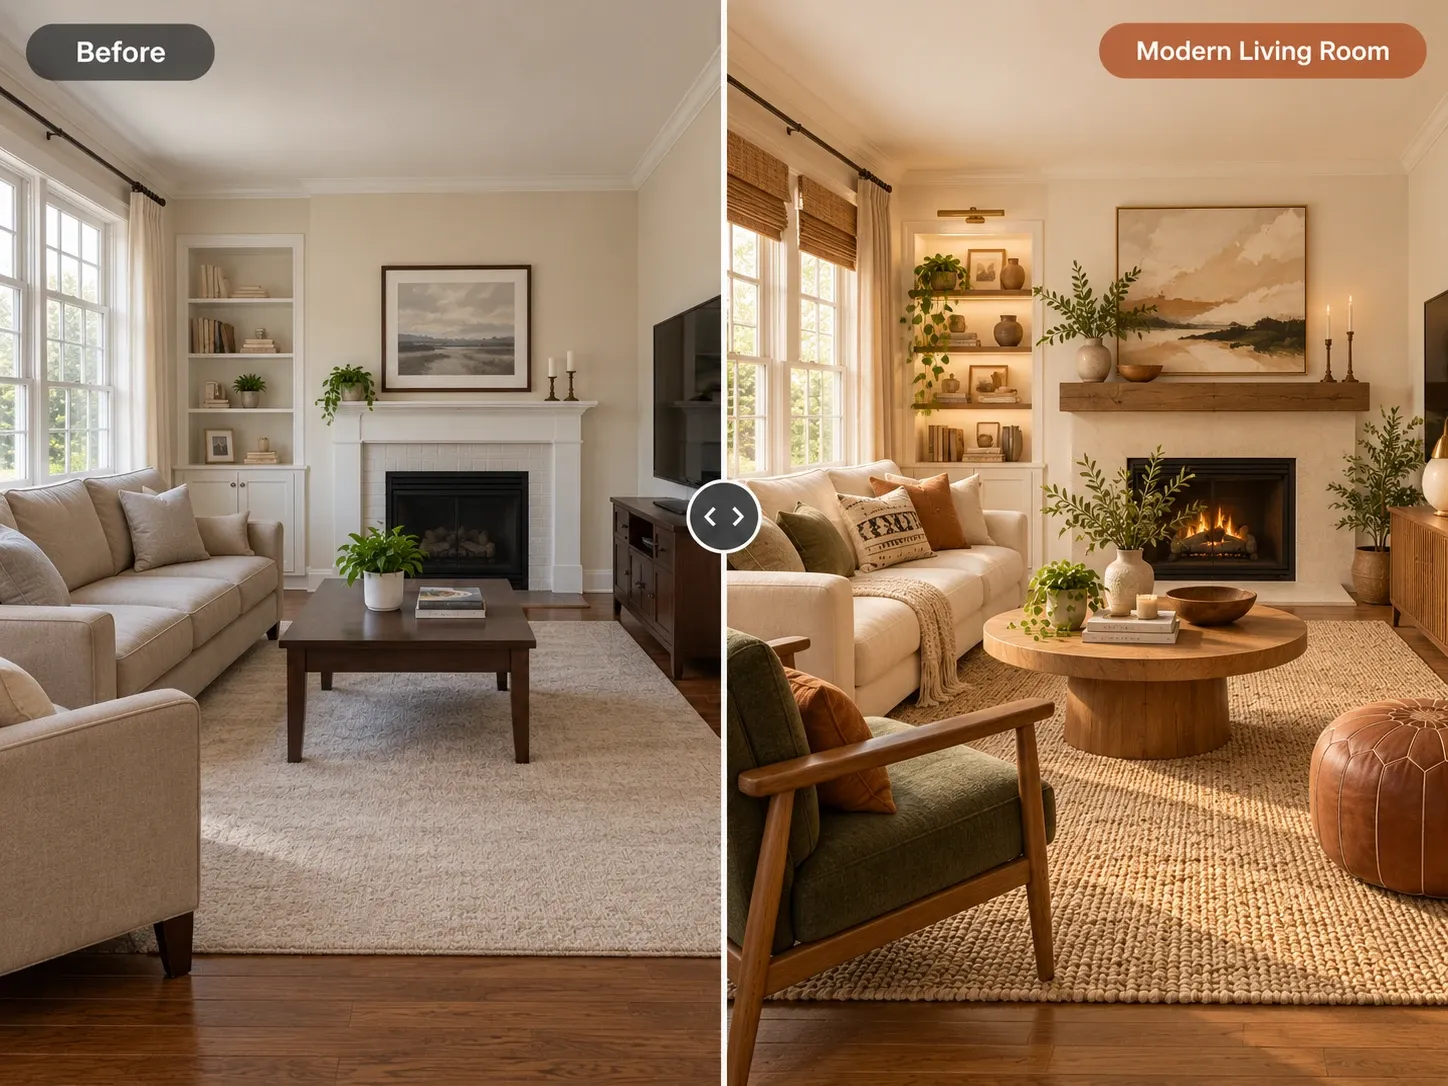
If you are wondering how to use AI to decorate a room, the short answer is simple: start with a clear photo, pick a direction and ask for specific changes. AI shows you a finished look in under a minute, so you can test colors, furniture and styles before you spend money. Here is the exact process, plus how to turn the result into a real room.
What You Need Before You Use AI to Decorate a Room
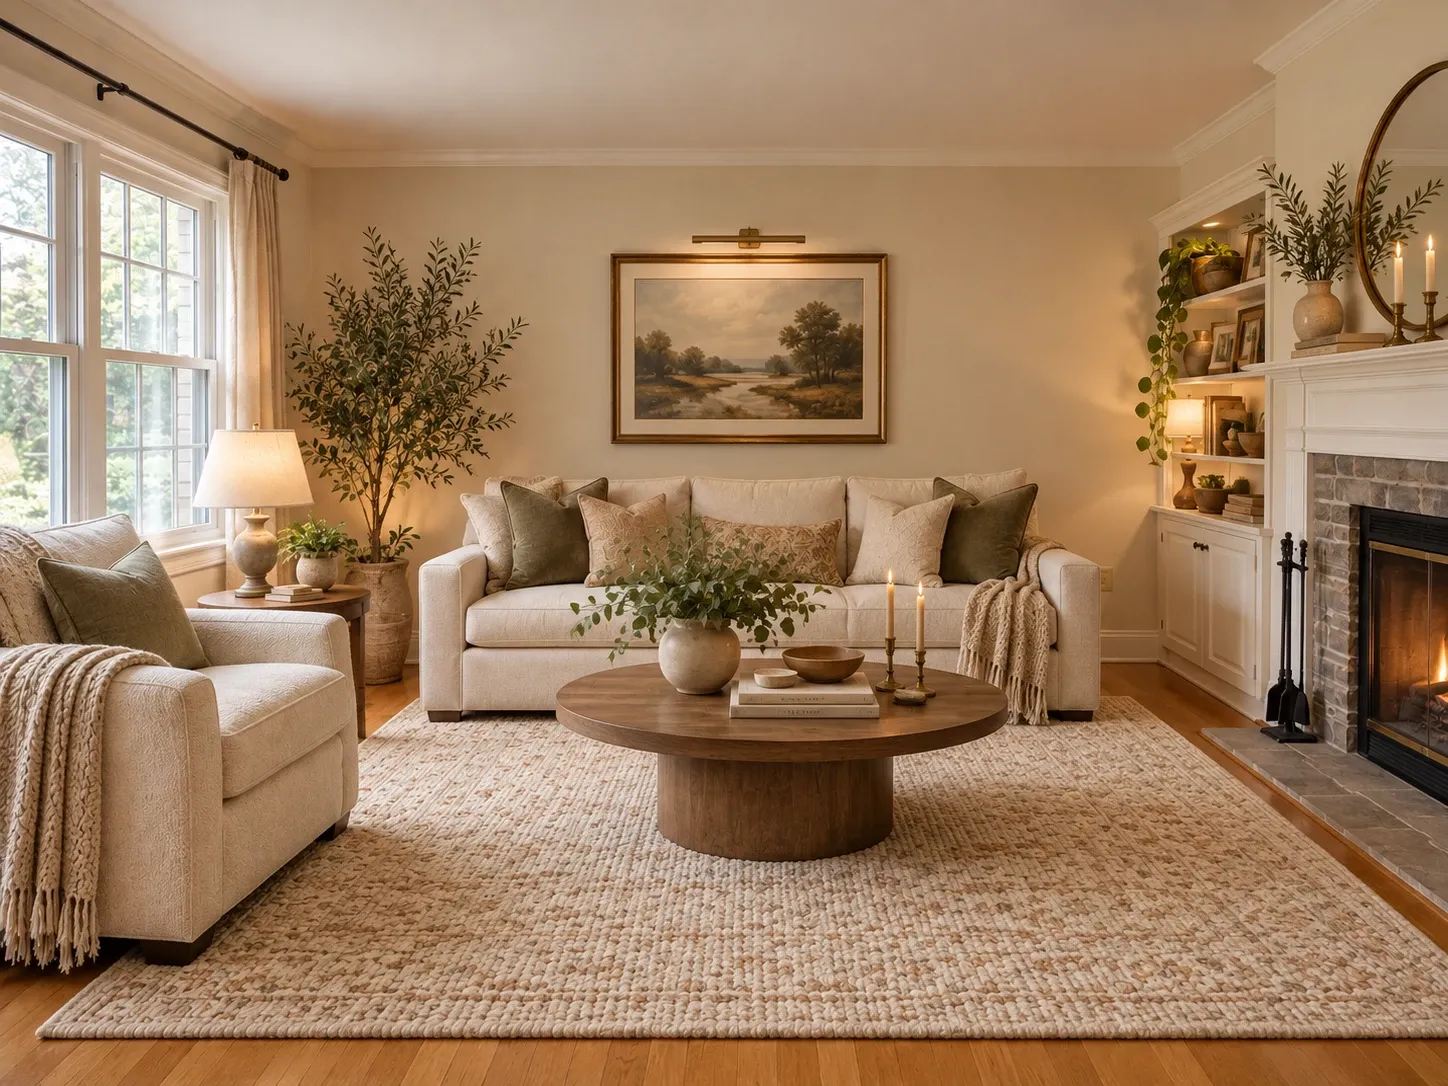
You do not need design training to get useful results. You need three things: a decent photo of the room, a rough idea of what bothers you about it now, and a budget range. The photo gives the AI your real walls, windows and floor to work with. The problem list and budget keep you from falling for a look you cannot afford or that does not fix anything.
Tools built for AI room design work from your actual photo rather than a blank prompt. Homes Design AI, for example, is a web app: you upload a photo, choose the room type and a style, and get a redesigned version in under a minute, with the walls, windows and perspective kept in place. That matters, because a pretty image of a different room will not help you decorate yours.
- A photo taken in daylight from a corner of the room
- Two or three things you want to fix, such as dark walls or a cramped seating area
- A budget range and a list of pieces you plan to keep
- Basic measurements: wall lengths, window widths and ceiling height
Step 1: Take a Photo the AI Can Read
The photo is your input, so its quality shapes everything that follows. Stand in a corner or doorway and hold the phone at chest height, level and not tilted. Turn on the lights and open the curtains. A wide shot that shows the floor, at least two walls and the main window gives the AI the most to work with.
Clear away clutter you do not want redesigned, such as laundry, boxes or a pile of shoes, because the AI may treat it as part of the room. If the space is large or L-shaped, take a separate photo of each zone instead of one distorted panorama. Our guide on how to photograph a room for AI design covers angles and lighting in more detail.
Step 2: Choose a Style That Fits How You Live
Most tools ask you to pick a room type and a style. The room type tells the AI which furniture belongs there. The style sets the palette, materials and shapes. If you are unsure, try two or three styles on the same photo and compare. Seeing your own room in each one is faster than scrolling through hundreds of inspiration photos.
Choose styles that suit your daily life, not just a mood board. Families with kids and pets often do well with warm, durable looks like Scandinavian interior design, with light wood and washable fabrics. If you want calm and less stuff, Japandi interior design mixes Japanese restraint with Nordic comfort. Homes Design AI also has a Surprise me option when you want a direction you would not have picked yourself.
How to Ask AI to Decorate a Room in Plain Language
A style alone gives you a full makeover. Instructions give you control. Write them the way you would brief a designer: what to keep, what to change and the feeling you want. Short, concrete sentences work better than long wish lists. Name colors, materials and furniture types, such as oak, linen, brass or a round coffee table.
- Keep the sofa and bookshelf, change the walls to a warm white and add a jute rug
- Make the room feel brighter with light oak, linen curtains and a floor lamp in the corner
- Replace only the coffee table with a round wood one
- Paint the accent wall deep green and keep everything else the same
Keep what you love
If you own a sofa you like, say so: keep the gray sofa and the wood floor. Naming the pieces you are keeping stops the AI from replacing them and makes the result something you can actually recreate. In Homes Design AI, an AI design assistant turns your request, written in any language, into a precise prompt for the image model.
Change one thing at a time
When you only want new paint or a different rug, ask for that alone. Tools that support area edits can change just the wall color, the flooring or one piece of furniture while leaving the rest of the room untouched. Single changes are easier to judge than a full redesign, and easier to shop for.
Step 3: Compare Variations and Refine
Do not stop at the first result. Generate a few variations of the style you like and put them side by side. Look for the details that repeat across your favorites: maybe it is always the lighter floor, or curtains hung closer to the ceiling. Those repeated details are your real preferences, and they make a better shopping list than any single image.
Then refine. Ask for a lighter rug, a different chair or warmer lighting, one edit at a time. Check that the result still respects the room: windows in the same place, doors usable, no furniture blocking a radiator or vent. If something looks off, regenerate rather than settling. With Homes Design AI, failed generations do not cost credits, so it pays to try again.
Turn the AI Design Into a Real Room
An AI image is a concept, not a plan. It does not give you measurements, product links or a cost estimate, so you need to translate it. List each element you see: wall color, rug, sofa shape, lighting, curtains and decor. Then find real products that match in size and finish. Test paint samples on two walls, since color shifts with daylight.
Measure before you buy. A common rule of thumb is to leave 30 to 36 inches for main walkways and about 18 inches between a sofa and a coffee table. In a living room, a rug large enough for at least the front legs of every seat usually looks better than a small one floating in the middle. After each change, run a fresh photo through AI room design to plan the next step.
Written by the Homes Design AI team. Next step: try AI Room Design on a photo of your own space.